Once you’ve added images to the case using the upload method or the DICOM method, you can add annotations, black out patient identifiers (for a single image or punch through an entire DICOM series), edit image captions, reorder images in the case, delete images, and control when each image is displayed during training mode.
Click on the Case Images tab to view the image management fields.
For each image, you may edit the following properties:
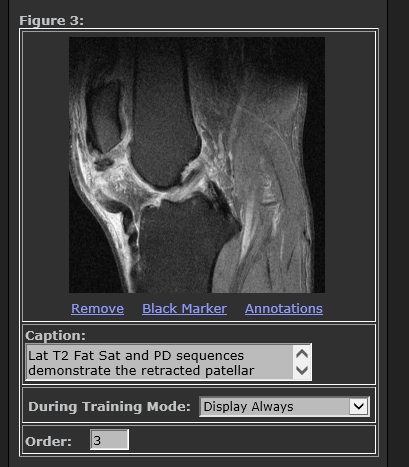
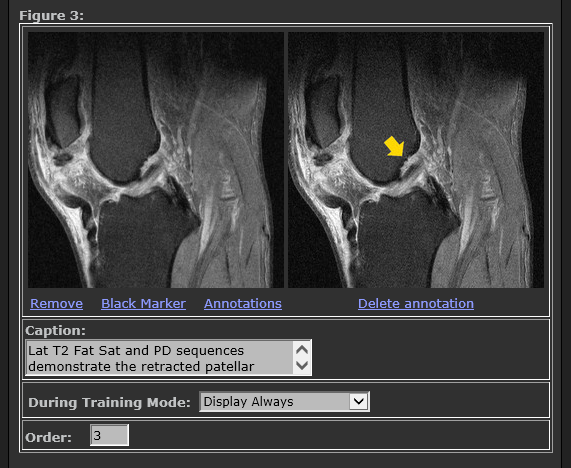
Annotations: add squares, circles, arrows and text directly on the image right in the browser. Click the “Annotate” link located underneath the image. Follow the annotation instructions on the right side of the annotator and click the “Save” button when you are done. The annotated version of the image will appear next to original. You can edit the annotated version while still in the case editor but once the case is saved then the annotations become permanent. The annotated image would need to be deleted if new annotations want to be included.
Black Marker: add a black rectangle to hide any patient identifiers that may appear as part of an image. Click the “Black Marker " link located underneath the image. Follow the instructions on the right side of the black marker and click the “Save” button when you are done. When a black mark is placed on an image the saved version will replace the originally uploaded image. You will not be able to remove the black mark once it is saved to an image. If an image is added from a DICOM series then while you are drawing the black mark you can select the checkbox to have the mark appear on every image in the DICOM series. In essence, the mark will be “punched” through the entire stack of the DICOM series. Once the mark is saved then the entire DICOM series is changed and the black mark cannot be removed from any of the images in the stack.
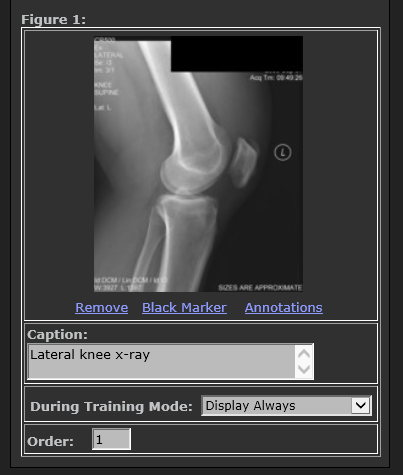
Caption: enter a new caption, or edit the existing caption. Caption text is indexed by the search engine just like other case text fields. You can choose to enter a paragraph of image findings here, or limit captions to descriptive labels (e.g. “Axial T2"). Captions will not be displayed when the case is being viewed in Training Mode, so it is safe to describe findings here if you choose to do so. You do not need to enter figure numbers, as they will be automatically generated when you save the case.
Display: control when an image is displayed. The default value is Always, which means that the image will always appear. Other choices are:
Select from these choices to determine when an image is displayed in the case viewer. Training Mode must be on to apply these controls. An image cannot be displayed before a previously ordered image. For example, if you have 5 images ordered 1-5 then image 3 cannot appear in the Findings section of the case unless images 1 and 2 are displayed in either the History or Findings sections. The “when to display” interface imposes a constraint that images can only be revealed in sequential order as the user steps through the case. This prevents images from “disappearing” after they are revealed, which keeps things simple for the audience. Reordering the images can help in getting a particular image to display at a specific place in the case viewer.
Order: enter a different sequence number to change the order of an image. You may enter a fractional number to move an image between two other images. For example, you can enter “2.5” to have the image appear between current images 2 and 3. The system will automatically adjust the figure numbers to accommodate the new ordering.
Delete: click the link to remove an image from the case. A prompt will ask you to verify that you want to delete the image. Clicking “OK” will remove the image from the case.
For images added from a DICOM series you can:
Replace: this allows you to replace the viewable slice with a different slice from the same series. Click the link, and you are taken to the series. Use the slider to choose a different image. Click “Replace.” This feature is particularly useful if you configure a queue to create cases automatically from received DICOM images: in which the system arbitrarily picks one case image to represent each received series, and you need to be able to easily swap out those arbitrary images.
Add another from this series: this allows you to quickly and easily add another image from the same DICOM series. Click the link, and you are taken to the series. Use the slider to choose another image. Click “Add Image.” This feature is particularly useful if you configure a queue to create cases automatically from received DICOM images: in which the system arbitrarily picks one case image to represent each received series, and you need to be able to easily add additional slices.
For changes to take effect, press “Save Changes”.
Next: Deleting a Case