We are redesigning the Case Manager. If the new version is enabled on your system, you can access it by clicking "Try the new version!" at the top of the classic Case Manager page.
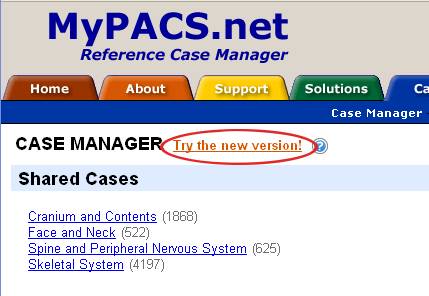
To return to the classic Case Manager, click the "Return to Old Version" link at the top center of the new Case Manager.
The basic components of the new Case Manager are:

Main Menus: In the upper left corner, a set of dropdown menus for accessing existing content or creating new content.
Case Panel: The main region of the page, which shows the cases in the system.
Search and Filters: Centered above the list of cases, you will find the Search box and a dropdown list of filters. Use these to find the cases you want.
Sidebar: Along the left side of the screen, the Sidebar lets you Search All Cases, run specific searches, or access folders.
The Case Panel shows you summaries of cases in the system. You use the Sidebar, the Search box, and Filters to control which cases are displayed. Long case lists are broken into separate pages, which can be traversed using the Prev / Next links.
Using controls at the upper right of the Case Panel, you can set:
- sorting order for cases
- number of cases shown per page
- wide or narrow case abstracts
![]()
Right-click on a case to view a menu of actions that you can perform on it. Use this to Email a case to someone, or for cases you own, to Edit, Delete or Export. Admin users can also use this menu to Certify or Decertify a case.
To select a case, click the checkbox to the left of its title. Selected cases can be added to a folder by dragging them onto the folder in the Sidebar. They can also be removed from the curent folder by right-clicking on a selected case and choosing "Remove Selected Cases from Folder."
The Sidebar (on the left side of the page) controls where you are searching.
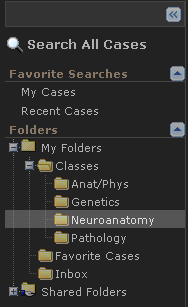
Click "Search All Cases" to start a fresh search with no constraints. Click "My Cases" to see your own cases, or "Recent Cases" to see all cases in the system sorted by date. Or click on a folder to see its contents.
Folders provide one way for organizing cases. The Folders section of the Sidebar shows you both your own folders and Shared Folders, which are visible (and sometimes writable) to all users.
Use the +/- icons to expand or collapse the folders. Click on a folder's name to see its contents.
Right-click on a folder to access common folder operations, such as renaming, editing, or creating a new subfolder. You can access the complete list of folder options by selecting More Options.
The width of the Sidebar is adjustable. Drag the vertical bar between the Sidebar and the Case Panel to set the width. To hide the Sidebar completely, click its << icon.
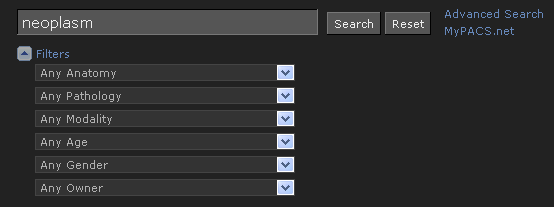
Enter a term in the search box to search for cases containing that text.
You can also add filters to limit the set of cases shown. Click the arrow next to Filters to reveal the available filters. Filter settings will be ANDed together to limit the displayed cases.
If a folder is selected in the Sidebar, then the search criteria will be used to find cases in that folder. If you click the option "Show cases in subfolders", then the search results will be expanded to show cases in the selected folder and also in any of its subfolders.
Click the Reset button to clear the search terms and filters.
You can switch between light and dark color schemes. Go to the Options menu and select "Use Light Colors" or "Use Dark Colors".