Before adding images to a case, you need to save them as files on your hard drive. This describes how to export images from your GE PACS using the PathSpeed Web interface.
-
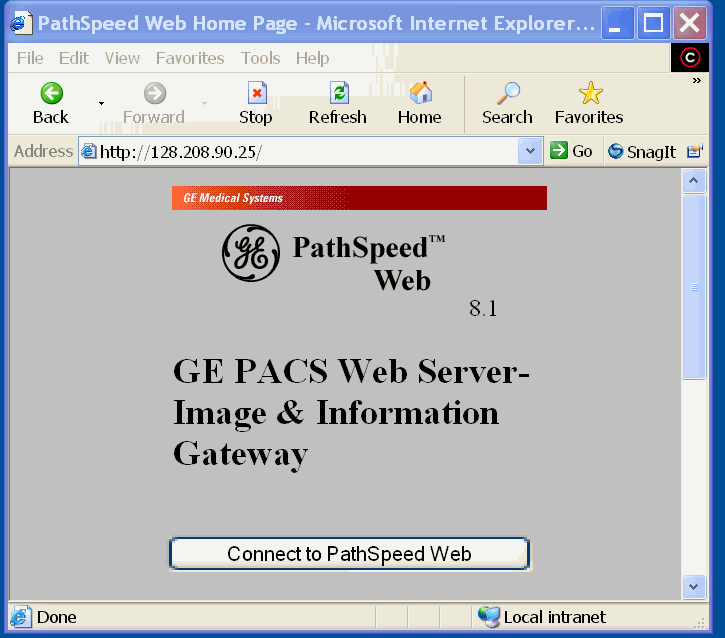
Point your web browser to the PathSpeed home page for your institution,
and click on "Connect to PathSpeed Web":
-
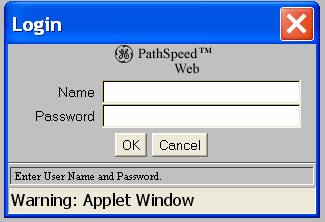
Enter your PACS username and password (which may be different from your
teaching file username and password):
-
Enter the first few letters of the patient name and the last four digits
of the patient number:

-
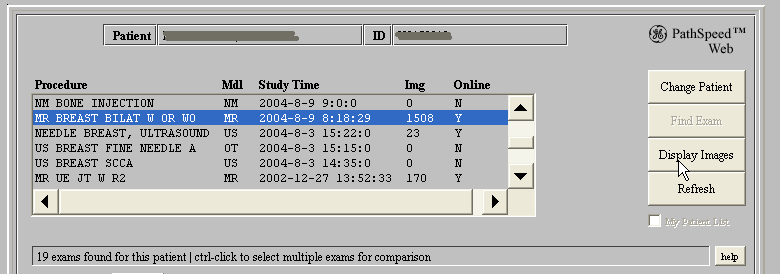
Click on the patient, then click on one of the exams for that patient:
-
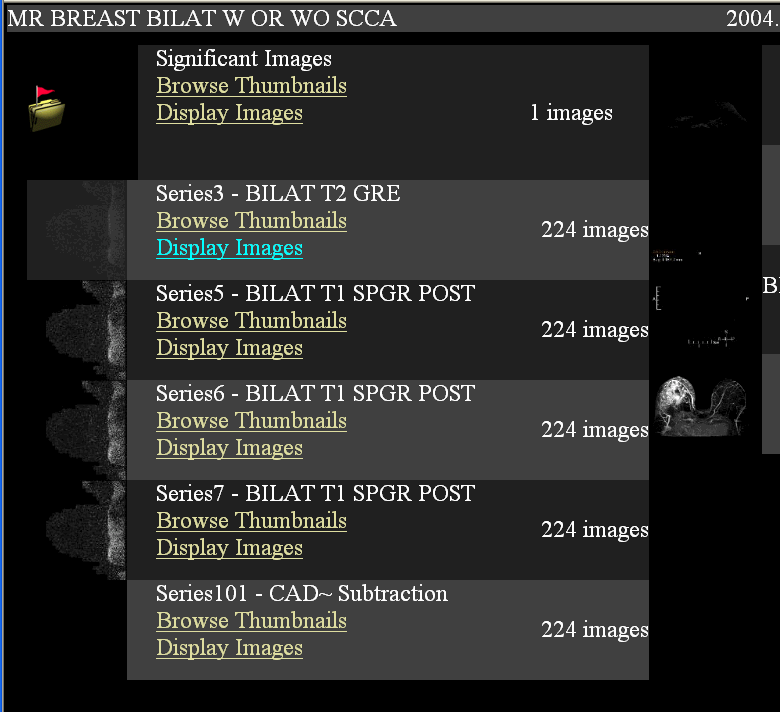
Find the desired series, then click on "Display Images" for that series:
-
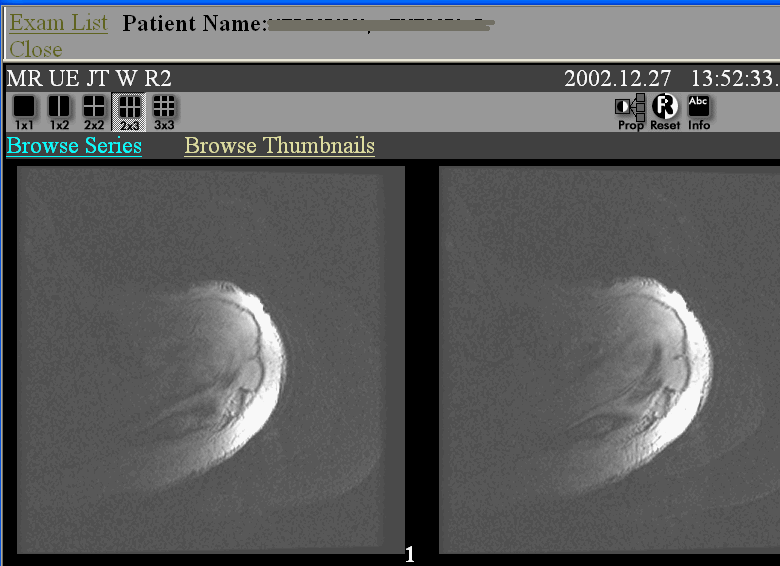
This will display the images for that series:
-
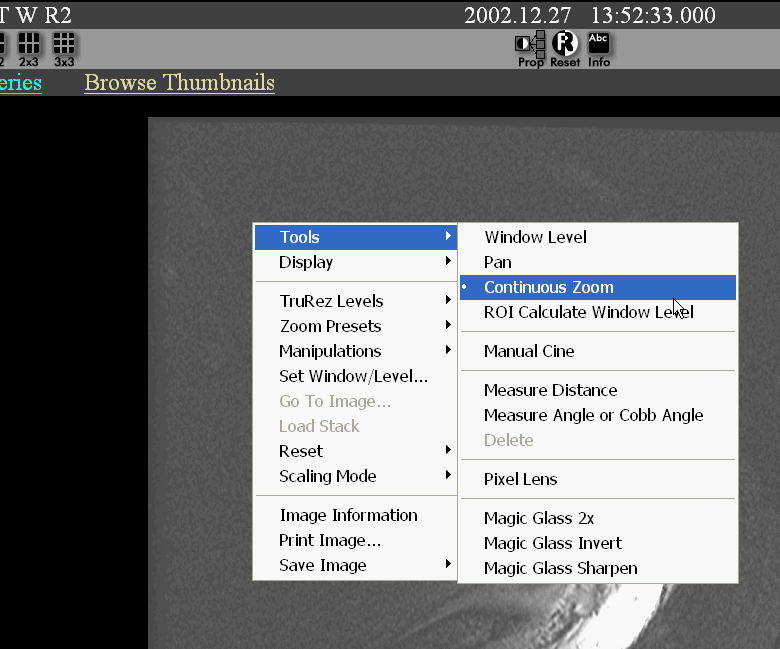
Find the image you want to export, then right-click on the image to
make adjustments to the image. From the Tools menu, you can adjust window/level
settings, zoom & pan, etc.:
-
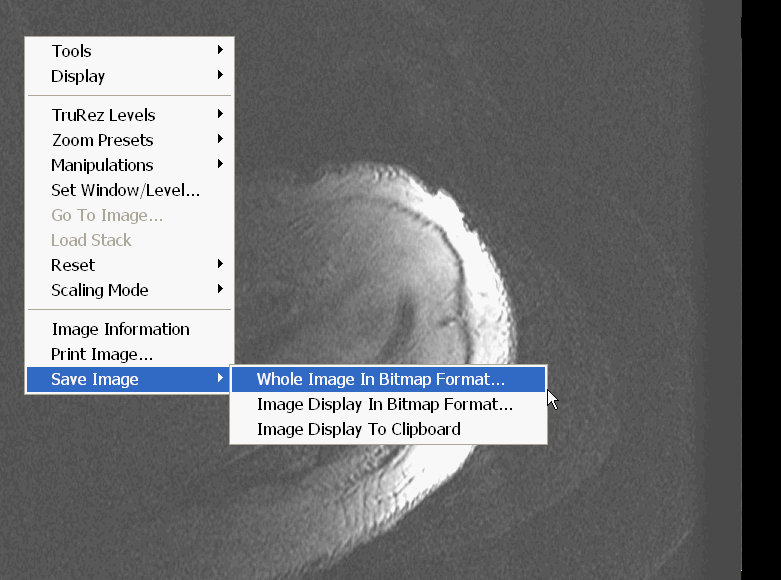
When you are ready to export the image, right-click on the image, select the "Save Image" menu, the choose "Whole Image In Bitmap Format":
-
From the "Save As" dialog box, choose a filename and location for the image:
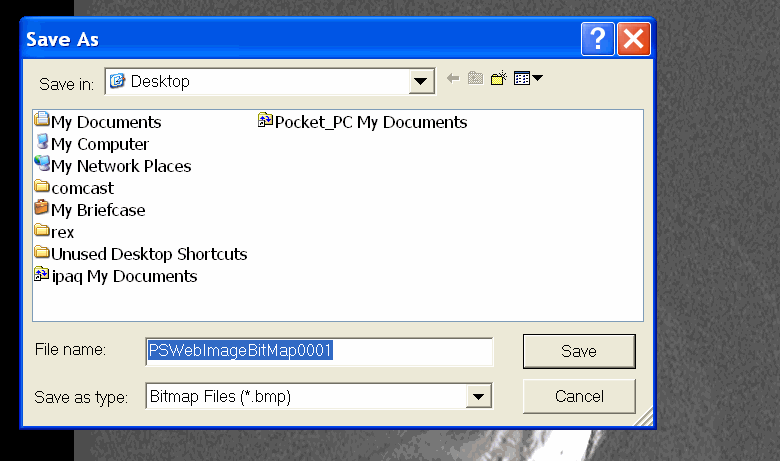
Remember where you saved the image file: you will need to locate it when you add the image to a case .